Why Your Lavender Seeds Fail (And How to Fix It)
Most people will tell you that growing lavender from seeds is a fool's game. They say it takes too long. They say the seeds never wake up. When I first cleared the soil for my lavender farm, my neighbors laughed. "Buy cuttings!" they told me. But I wanted the challenge. I wanted to see the magic from the very beginning. Today, my fields are a sea of purple, buzzing with bees and visited by local coffee shop owners who want our organic buds for their sweet syrups.
Growing your own lavender from seeds is not just about saving money. It gives you access to rare lavender varieties you can never find at your local plant nursery.
| Lavender Variety | Best Use | Key Benefit |
|---|---|---|
| English Lavender (Lavandula angustifolia) | Culinary, Ice Cream, Coffee Shops | Sweet, delicate flavor; very low camphor; highly cold-hardy. |
| French Lavender (Lavandula dentata) | Floristry, DIY Lavender Crafts | Beautiful serrated leaves; continuous blooms; great for indoor pots. |
| Lavandin (Lavandula x intermedia) | Essential Oils, Soap Making | Massive yields; very strong fragrance; grows fast. |
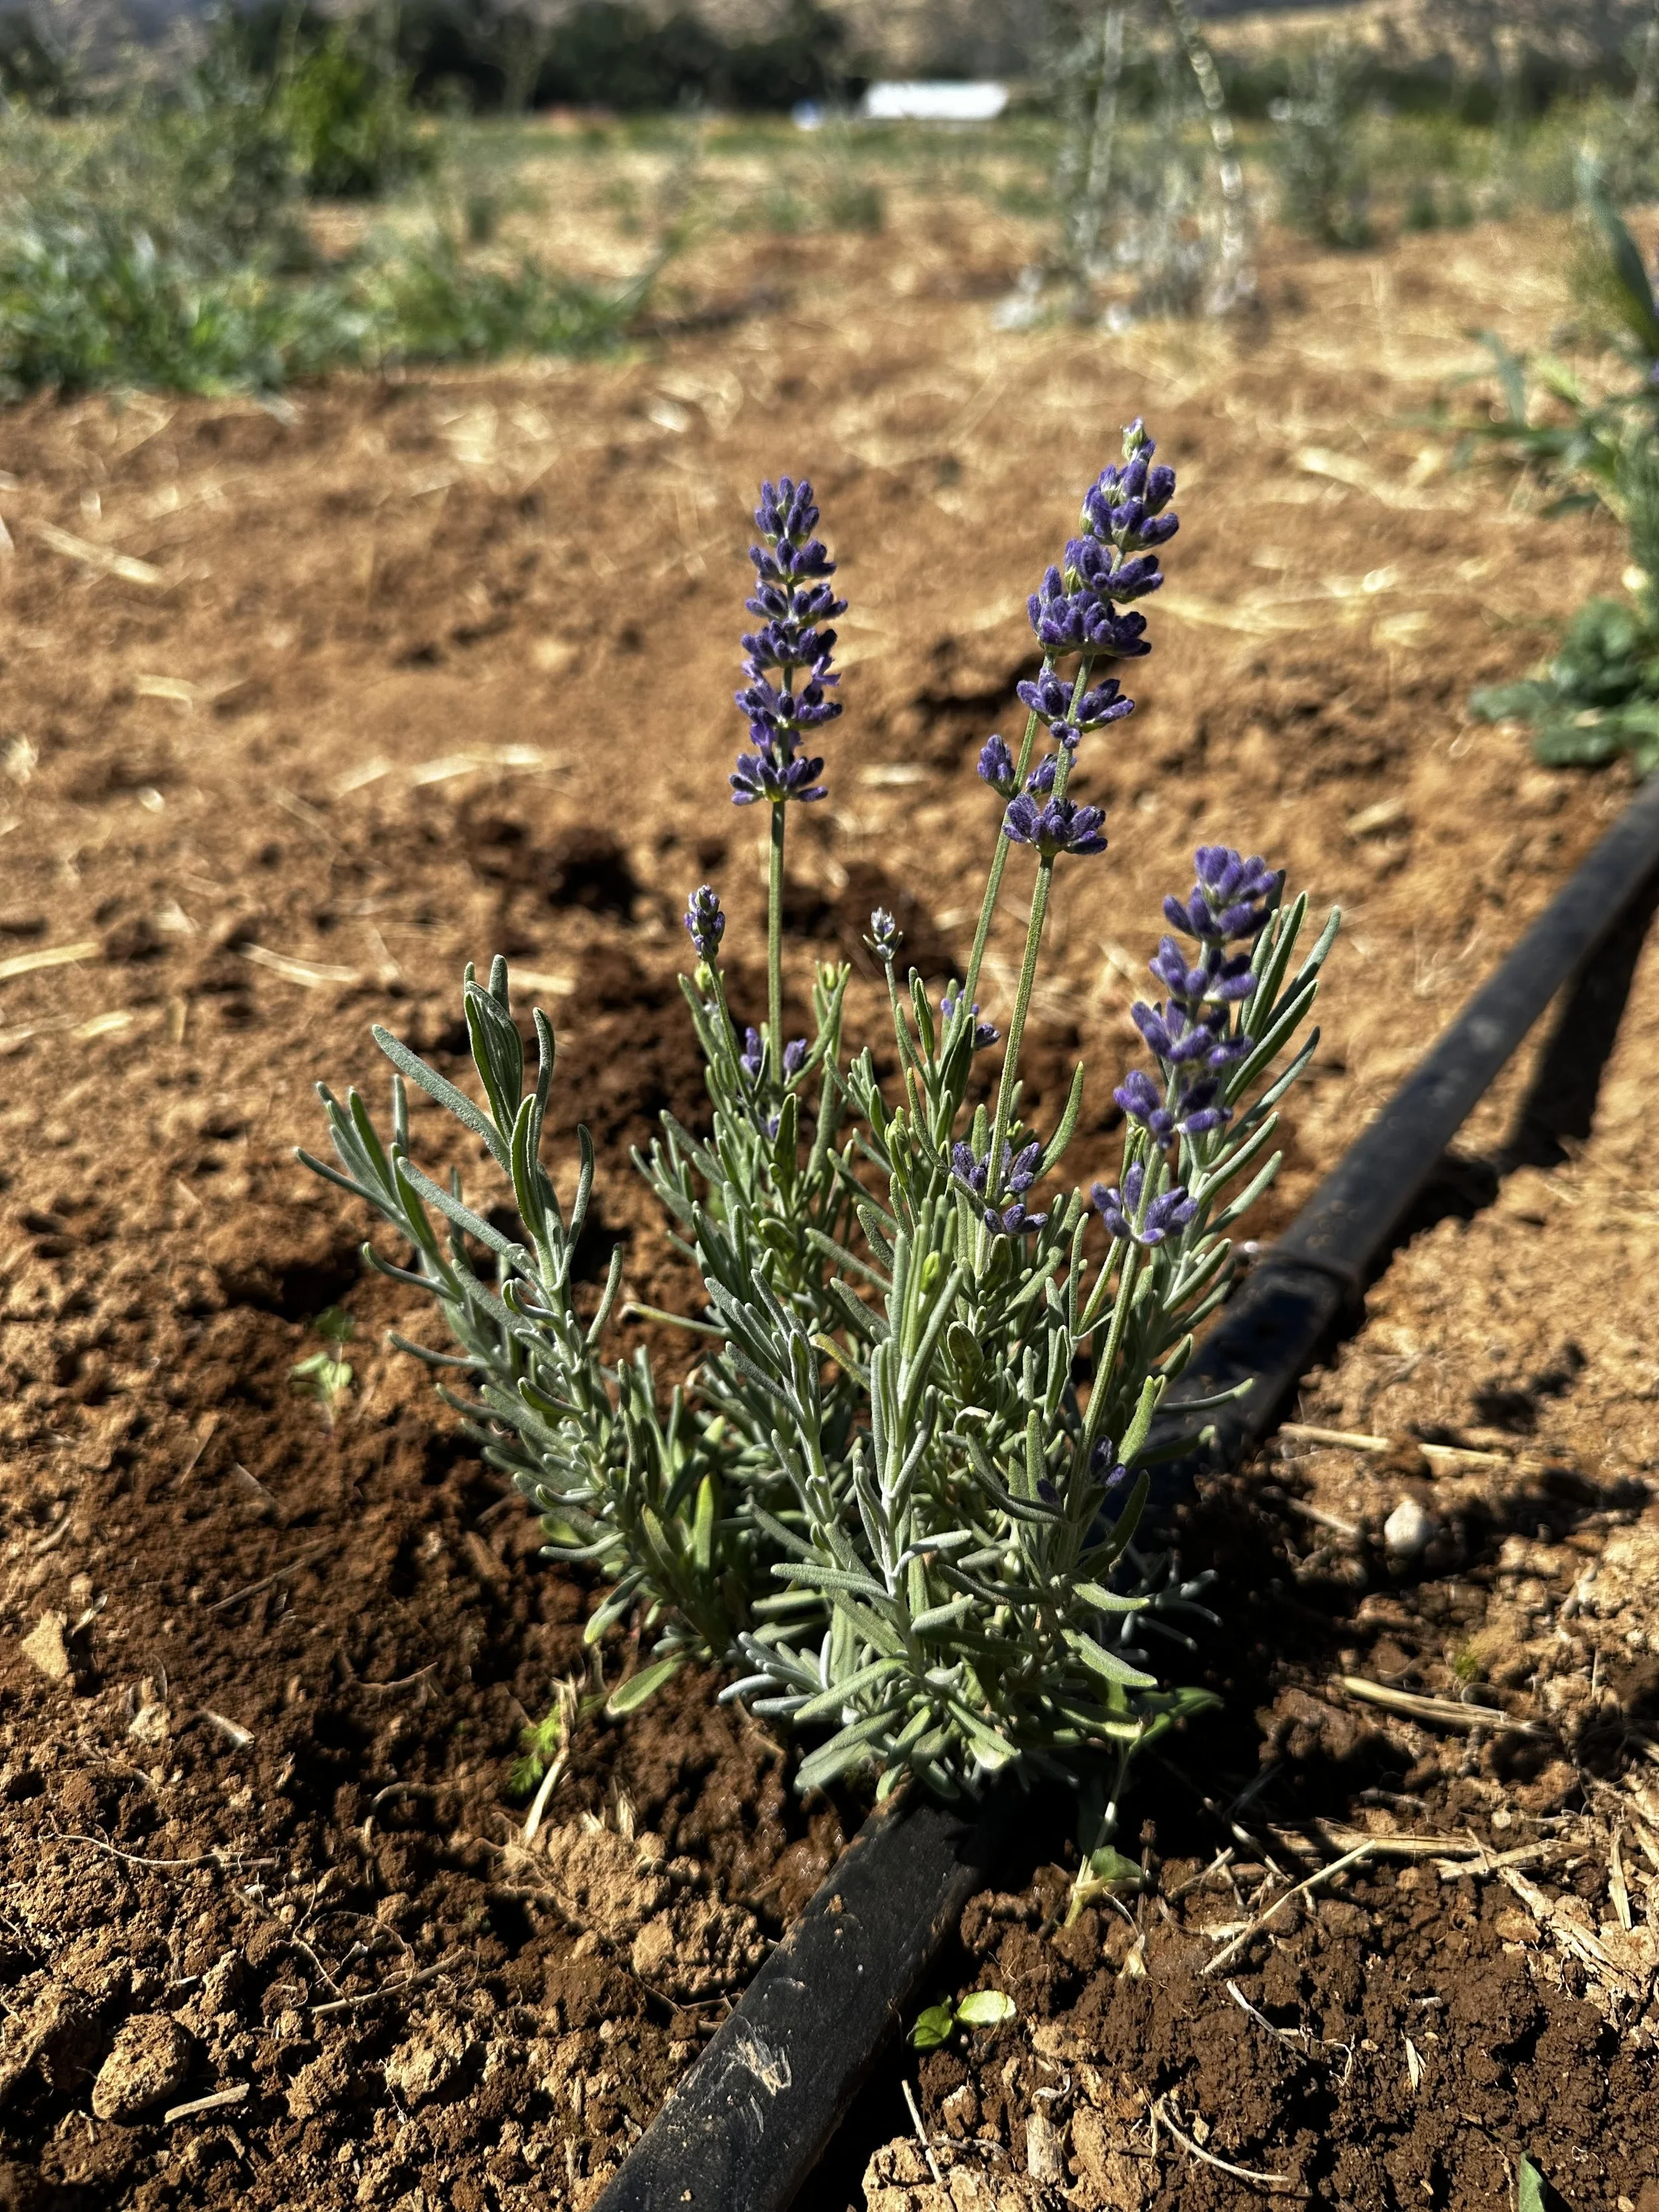
English Lavender - Super Blue - July 2024
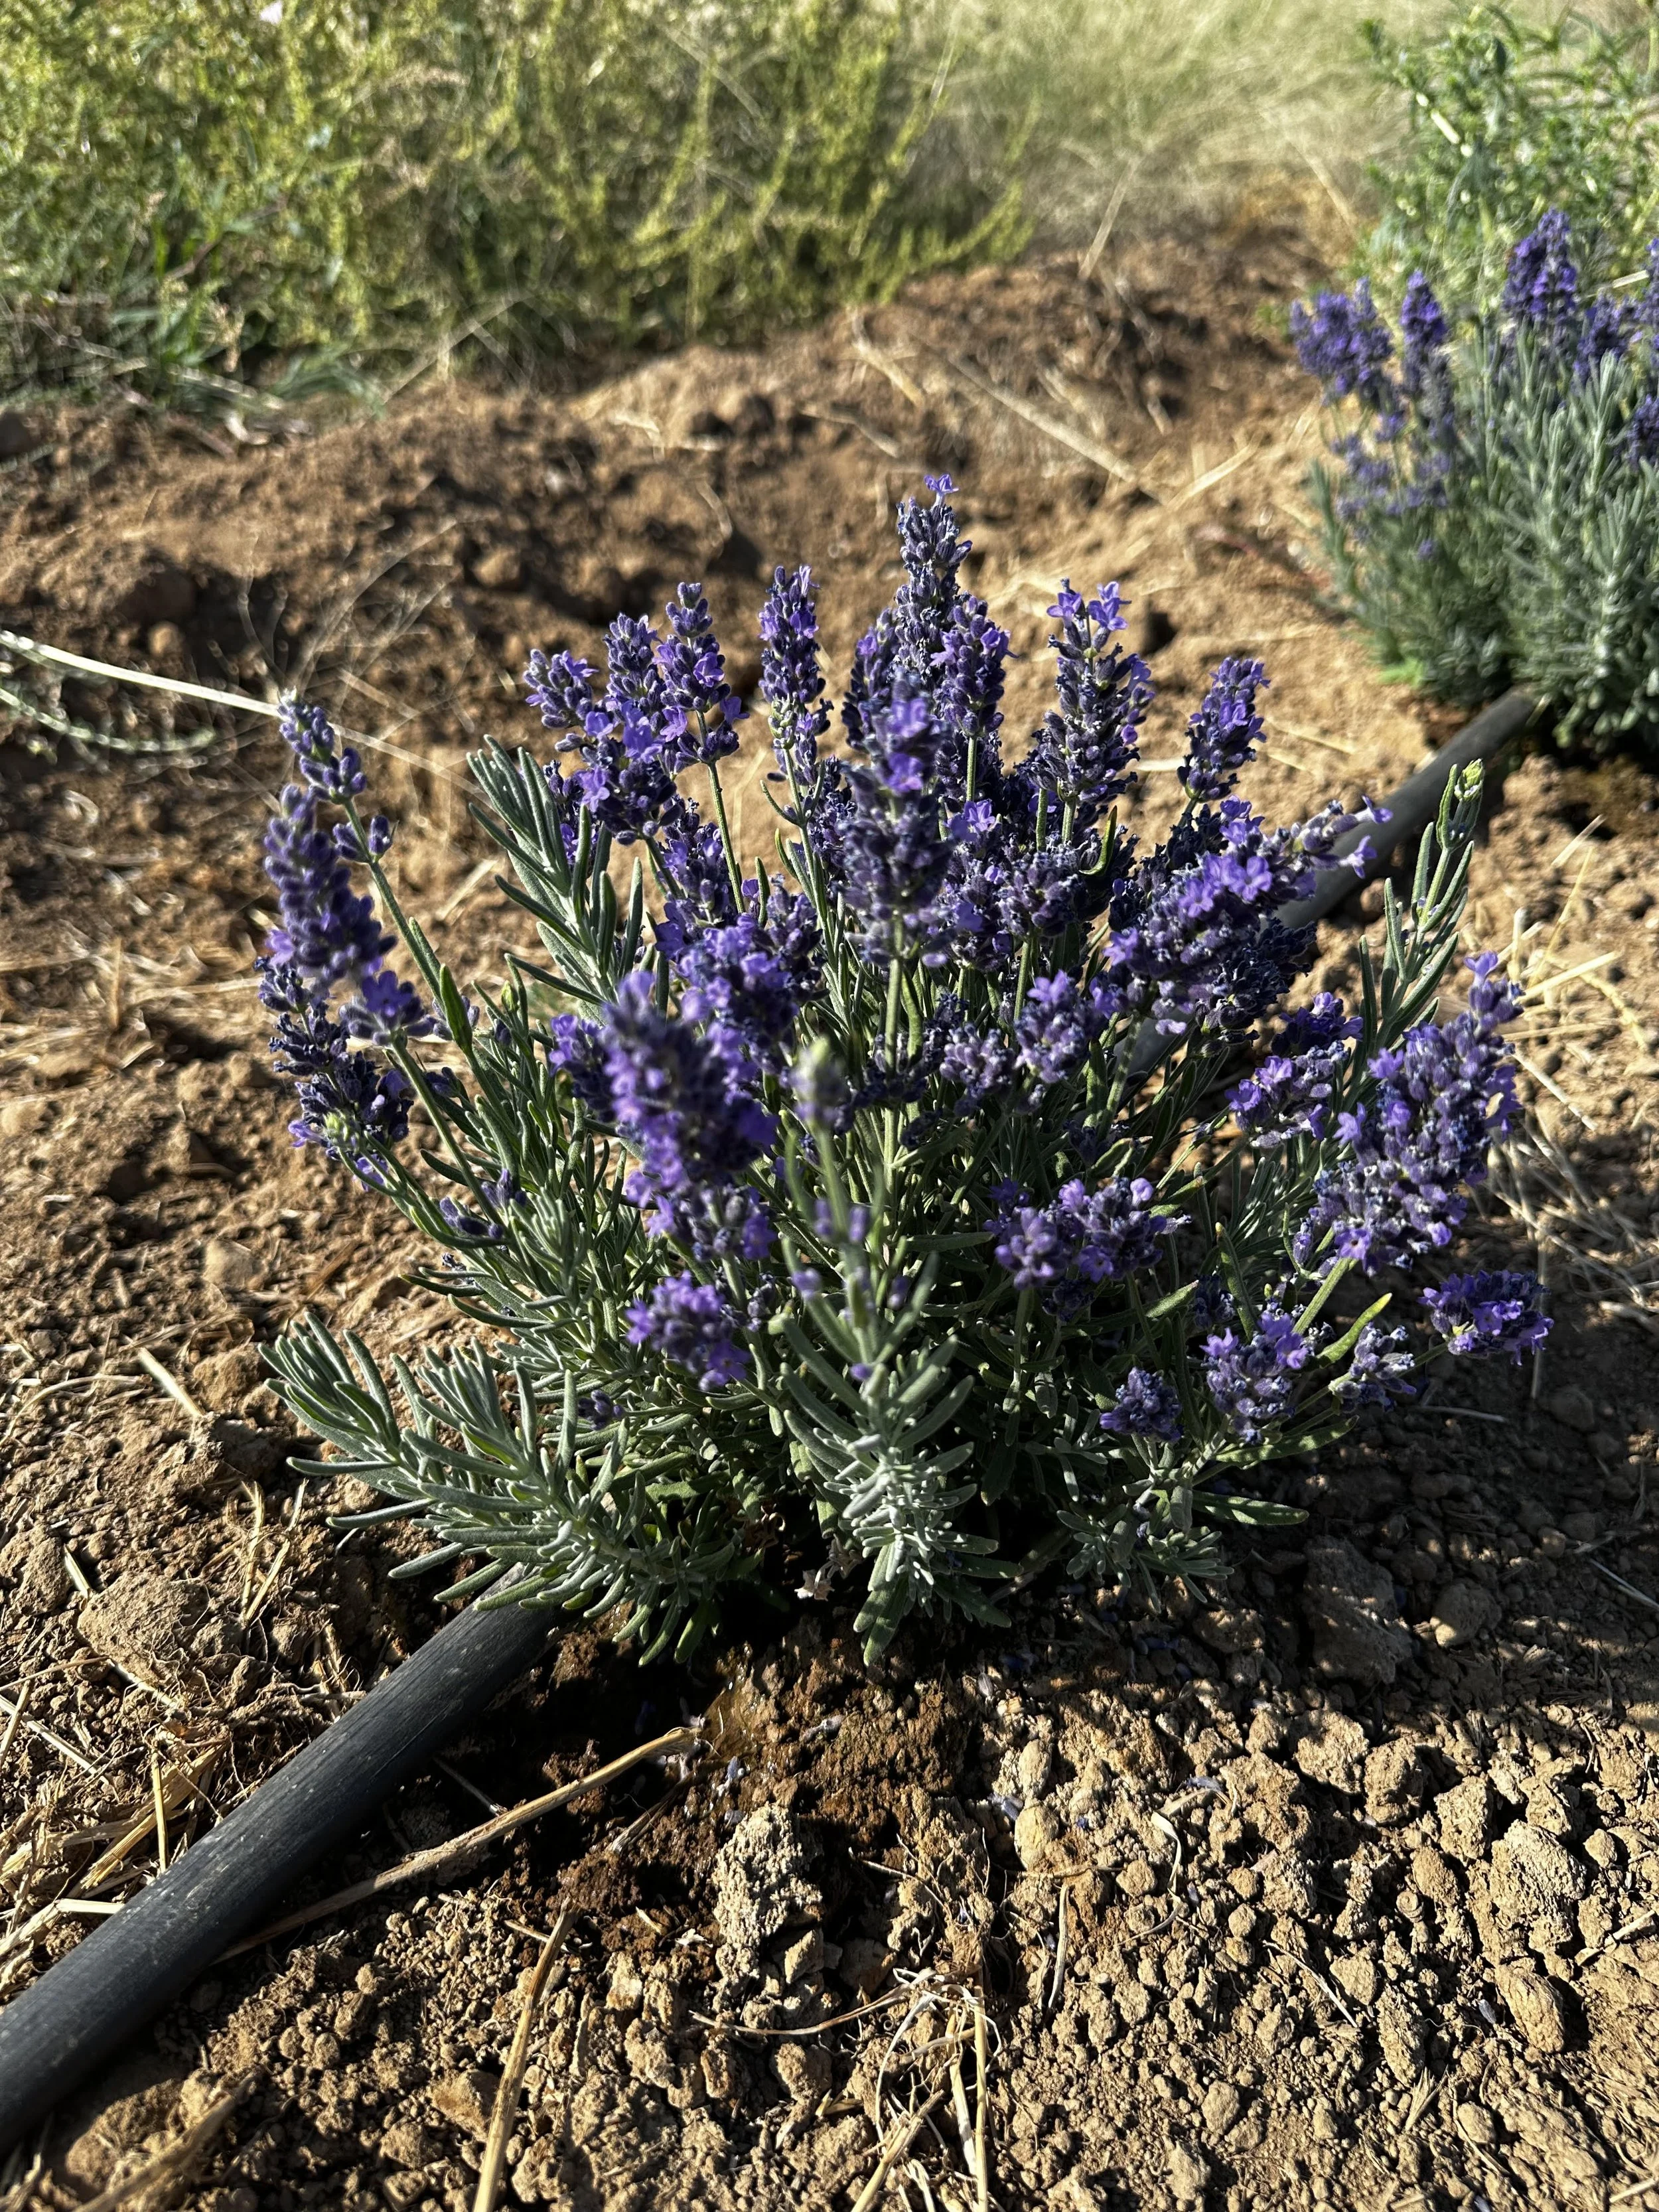
English Lavender - Super Blue - August 2024
Whether you want to sell beautiful dry bundles to local florists or just enjoy DIY lavender crafts at home, starting with the right seed is everything.
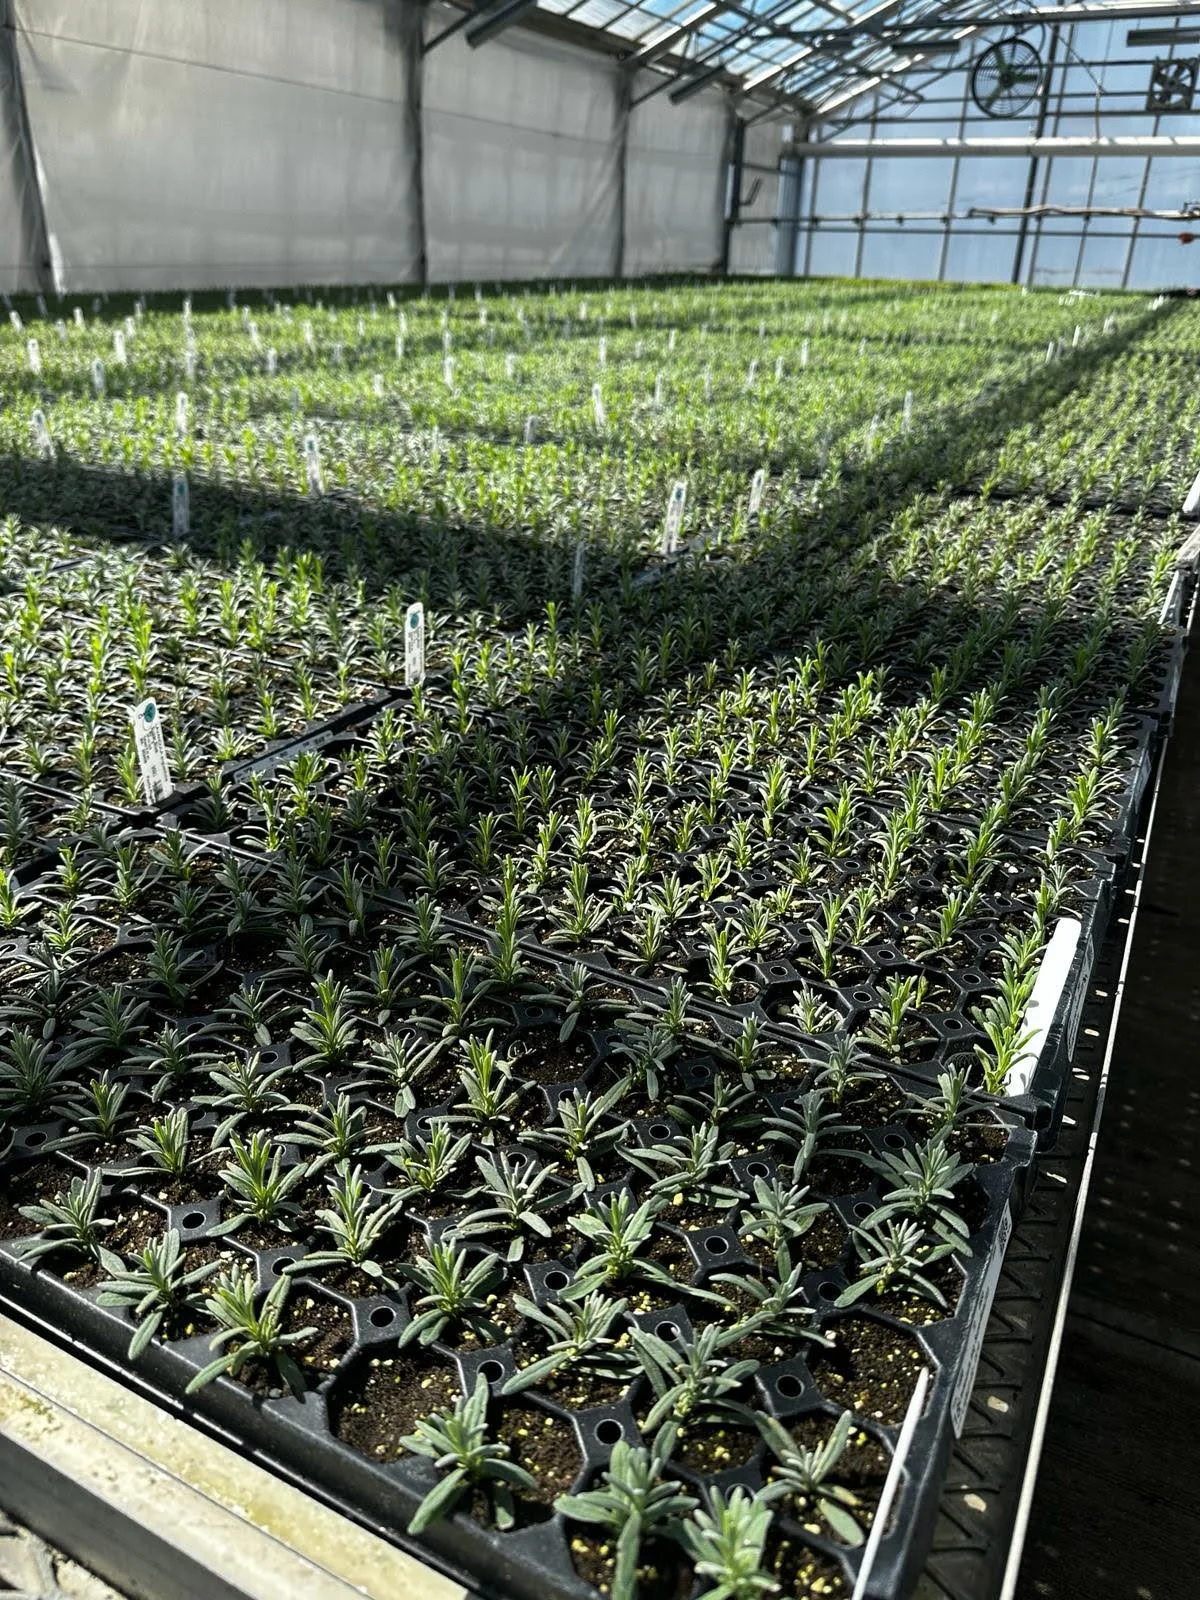
For large scale, better to start your seed at Nursery.
Growing lavender in greenhouse Nursery.
Gather Your Lavender Farm Supplies
Do not run to the garden center unprepared. To get high germination rates, you need a precise setup. I put together this simple checklist of what worked on my farm.
| Item | Purpose | My Professional Tip |
|---|---|---|
| High-Quality Seeds | The genetic foundation | Buy from reputable sellers, not cheap bulk bins. |
| Seed-Starting Mix | Light, fluffy soil | Must be sterilized and extremely well-draining. |
| Coarse Sand or Horticultural Vermiculite | Drainage and light cover | Lavender seeds hate wet feet; sand keeps them dry. |
| Seed Trays with Drainage Holes | Home for the babies | Individual cells prevent root tangle later. |
| Clear Dome or Plastic Wrap | Moisture retention | Traps the humidity until they sprout. |
| Spray Bottle | Gentle watering | Never pour water; you will wash the tiny seeds away. |
Step 1: The Cold Stratification Trick
In nature, lavender seeds drop to the cold ground in autumn. They sleep under the snow all winter. This cold sleep tells them: "Spring is coming, time to grow!" If you plant dry seeds directly from the packet into warm soil, they will just sit there. We must trick them.
Here is how I do it:
| Step | Action | Why We Do It |
|---|---|---|
| 1. The Damp Bed | Moisten a paper towel. Scatter your seeds on it, leaving space so they do not clump together. | Moisture prepares the seed coat to crack open. |
| 2. The Seal | Fold the towel, slide it into a zip-lock plastic bag, and seal it tight. | Keeps the humidity locked inside. |
| 3. The Big Sleep | Put the bag in your refrigerator for 4 to 6 weeks. | Mimics winter. Do not put it in the freezer; the fridge is perfect. |
Step 2: Sowing and Sprouting the Lavender
After six weeks in the cold, your seeds are awake and hungry for light. Now we plant them.
| Stage | Action Details |
|---|---|
| Preparing the Soil | Fill your trays with seed-starting mix. I always stir in 20% coarse sand. This lets the roots breathe. |
| Placing the Seeds | Gently press the stratified seeds onto the surface. Do not bury them! Lavender seeds need light to wake up. Just sprinkle a paper-thin layer of sand over them. |
| Light & Warmth | Put the trays under a grow light for 10 hours a day. Keep the room warm—around 65°F to 70°F (18°C to 21°C). A heating mat under the tray works wonders. |
| The Water Rule | Mist the soil when the surface looks dry. The soil should feel like a wrung-out sponge, never a muddy puddle. |
Step 3: Hardening Off and Transplanting
In about 14 to 28 days, you will see tiny green spots. These are your lavender babies! But do not rush them outside. They are delicate.
First, we do what gardeners call "hardening off."
Week 1: Take the trays outside into a shaded, wind-protected spot for two hours. Bring them back inside.
Week 2: Increase the outdoor time daily. Give them a little morning sun.
The Move: Once the threat of frost is completely gone, dig your holes in the sunniest spot of your garden.
Spacing: Space the plants 2 to 3 feet apart. They need fresh air moving through their leaves to stay healthy and disease-free.
Ongoing Care for Golden Harvests
Once your lavender is in the ground, your job gets easier. Lavender loves a little bit of neglect.
| Care Task | Frequency | My Practical Advice |
|---|---|---|
| Watering | Only when dry | Feel the soil 2 inches deep. If it is dry, water deeply. If it is wet, walk away. |
| Pruning | Once a year | Cut back the green growth by one-third in early spring. Never cut into the old, woody stems or the plant might die. |
| Harvesting | When first buds open | Cut the stems in the morning after the dew dries but before the midday heat cooks the essential oils. |
Growing lavender from seed takes patience. It is a slow dance with nature. But next summer, when you sit on your porch with a glass of lavender-infused lemonade, watching the bees dance over the purple flowers you grew from dust—you will know it was worth every single day of waiting.
Would you like some specific tips on how to harvest your lavender for making artisan crafts or selling to local businesses? Let's talk in the comments below!
Conclusion
Growing lavender from seeds can be a bit challenging but highly rewarding. By following these optimized steps and maintaining patience and consistency, you can successfully grow beautiful and fragrant lavender plants in your garden. Enjoy the process and the delightful results!